
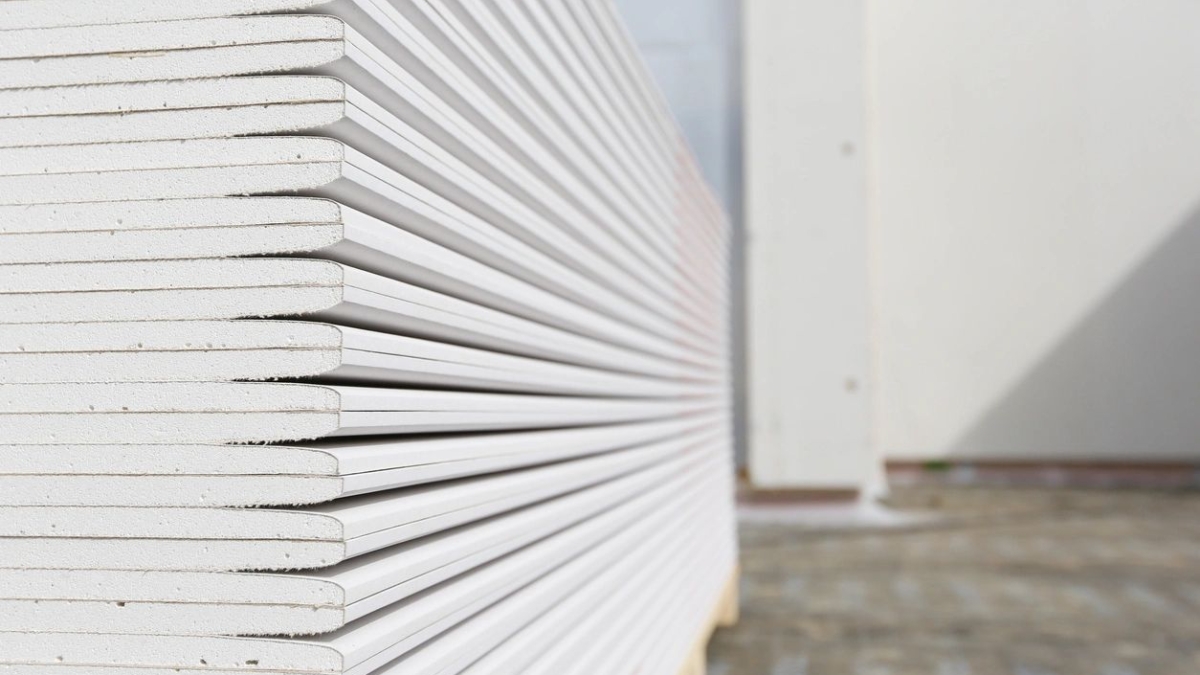
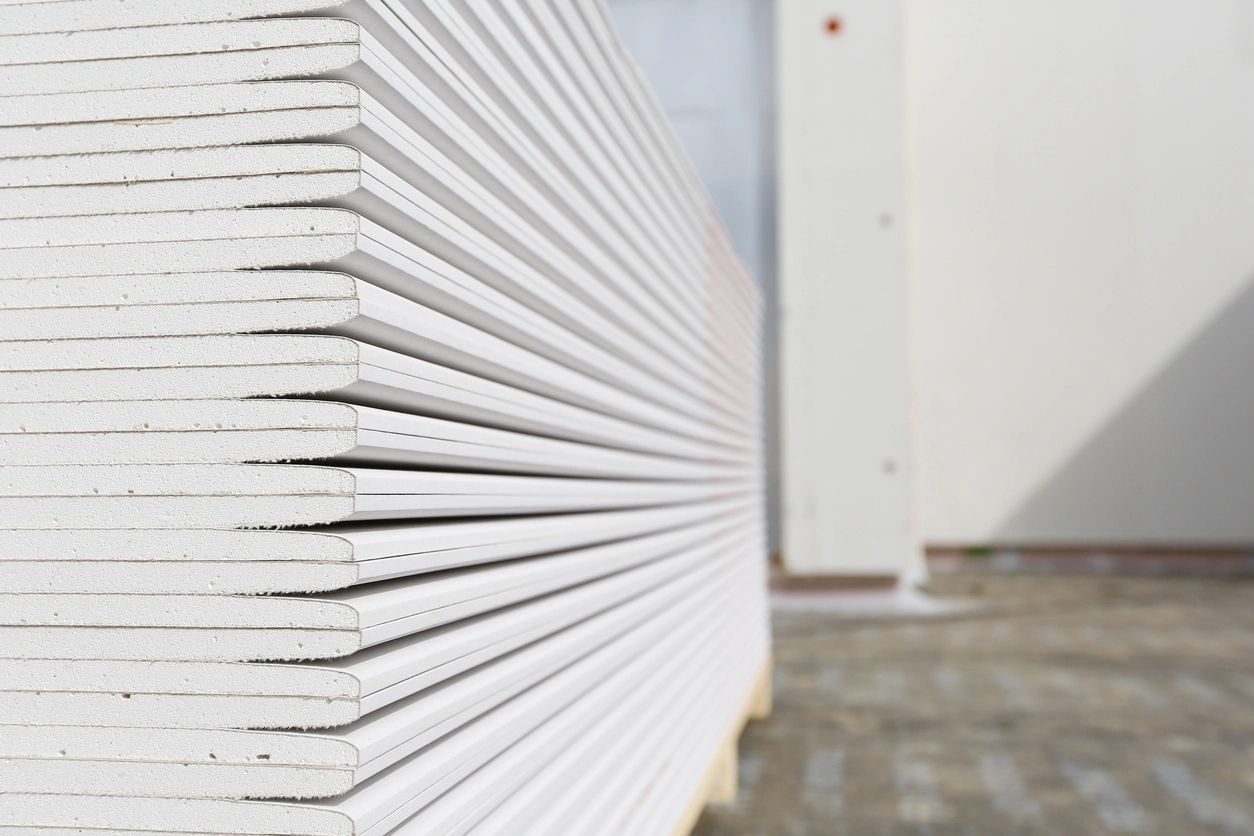
Drywall is hung against bare ceiling joists or wall studs to create a flat surface covering that will be finished with paint or wallpaper. The installation process is certainly not beyond a do-it-yourselfer’s ability, but you will want a handy helper around to complete the job. Check out these drywalling tips to make your renovation project a smooth one.
#1 Have a plan. Drywall sheets are laid horizontally on walls, and perpendicular to the joists on ceilings. Start by measuring the room. Calculate the length and width to figure out how many sheets you will need to purchase.
#2 Choosing the right size. Drywall is 4 feet wide, and a standard sheet is 8 feet long. Consider buying longer sheets (9,10,12 or 20 feet) to allow you to do the job with as few butt joints as possible. This is when two short ends come together, leaving more space that will need mudding. Planning can help you avoid this problem
#3 Stagger the sheets. If you can’t avoid butt joints, install the sheets like the pattern of a brick wall. If you start in the corner with a full sheet, the next row starts with a half sheet.
#4 Start with the ceiling. Keep the sheets perpendicular to the joists. If you are not an experienced drywaller, this is a step that should not be done alone.
#5 Finish walls from top to bottom. Start the install at the top of the wall. Because you may need to trim the sheet, you will want the cut to go along the bottom, where it will eventually be covered with a baseboard.
And remember, the key to hanging drywall is making sure it’s screwed in properly; every 12 inches along the ceiling and every 16 inches on a wall.
If you want help with your home renovation drywall project, consider Krawchuk Construction Inc. We are a trusted, reliable Saskatoon contractor specializing in quality home renovations.